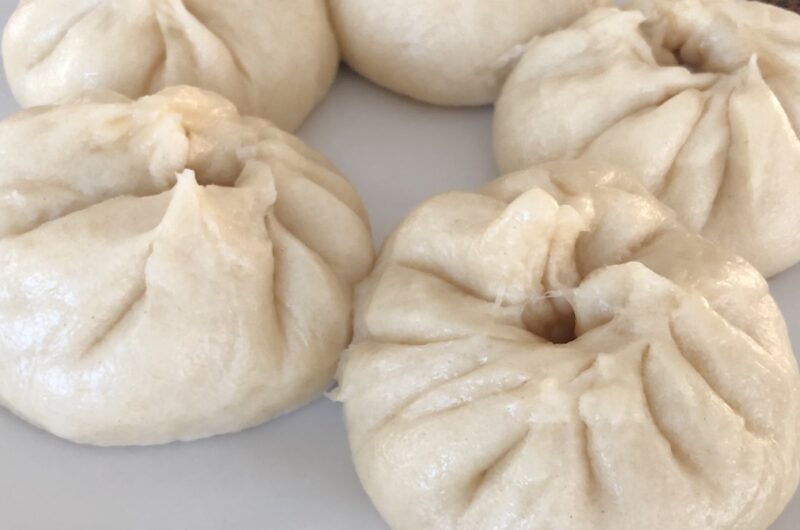
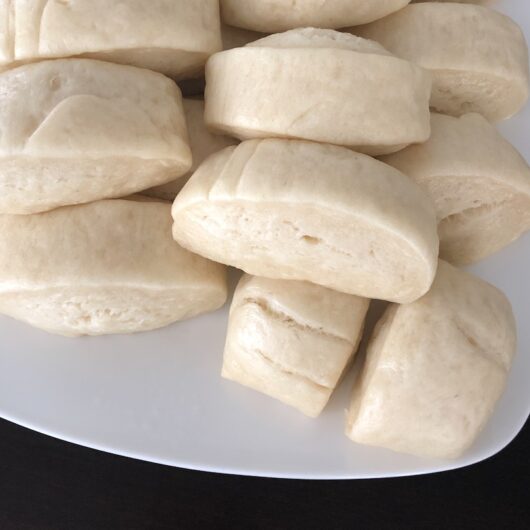
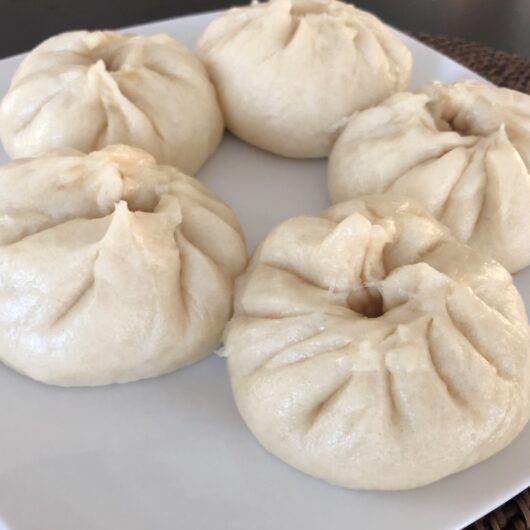
Chinese steamed buns are light, fluffy, mildly sweet white bread buns. They can be plain (aka Mantou) or stuffed with different types of filling (aka Bao). It can be stuffed with savory fillings to create great dim sum or lunch buns. It can also be used to create sweet buns. I love this bun recipe because it is delicious, versatile, and is easy to make if you just give the dough time to proof. The number of ingredients is few and you can probably even find the ingredients in your pantry now if you like baking!
My favorite bun recipe: Nom Wah’s mantou recipe:
Growing up I never learned how to make this type of dough and neither did my family, so you can definitely call me a novice in steamed bun making! However, we LOVE to eat them and always love to order them when we go out to eat! After trying various steamed bun recipes, I settled on one I thought was easiest and most delicious! My advice: Don’t be lured by some of the mantou/bun recipes that are “quick”, because the key to good fluffy mantou is when the recipe preserves some important rules of bread making!
After trying several recipes, I love Nom Wah’s Mantou Recipe. I found the recipe to be quite easy and relatively fail proof! However, I do have some tips and made a few modifications in the steps in my the version the recipe below to make it even easier! I also added in details, so you can use the same recipe to make stuffed buns (savory or sweet)!
Nom Wah is a dim sum restaurant in New York City’s Chinatown, which has been in existence since the 1920s. I recently received The Nom Wah Cookbook as a gift this holiday season (it was just published on October 20th, 2020) and boy am I glad I have it, because after trying some online recipes and failing at making “just the right” mantou or bun, the buns I made from Nom Wah’s recipe is great! With other recipes, either my dough didn’t rise enough or the dough wasn’t as smooth. Nom Wah’s dough recipe is simple, fluffy, and delicious! Being fail-proof is important for someone like me who is just learning to make buns!

What ingredients do you need?
The basic ingredients are all-purpose flour, dry yeast, baking powder, sugar, milk, oil, and water – that’s it!
The keys to fluffy buns: Activating the yeast and proofing patience.
I really like the Nom Wah recipe, because it retains typical bread making rules to ensure your bun dough turns out just right. The recipe will tell you to:
- ACTIVATE the YEAST first with warm water.
- SIFT the dry ingredients together.
- Cover your dough with a damp cloth to rest, which is essentially letting the dough PROOF.
So let’s now go step-by-step:
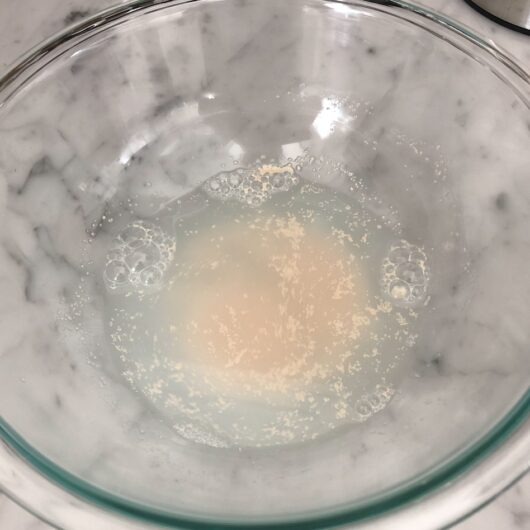
Step 1: Activate the yeast
It is important to activate the yeast in order for your dough to successfully rise in the proofing process. The Nom Wah recipe tells you to do this in an electric mixer bowl. I actually recommend you activate the yeast in a separate bowl first, because you can sift the dry ingredients into the mixer bowl and then add the wet ingredients into the dough mixer.
I’ve seen some recipes that just have you mix the yeast into the dry ingredients and also forget to tell you to use warm water to activate the yeast. What happens is that the bun will rise while steaming and then fall from over steaming or never even rise! Your bun will end up being very dense, tough, and not pretty. I like the Nom Wah recipe, because it tells you to activate the yeast first, which is an important step to good bread making.
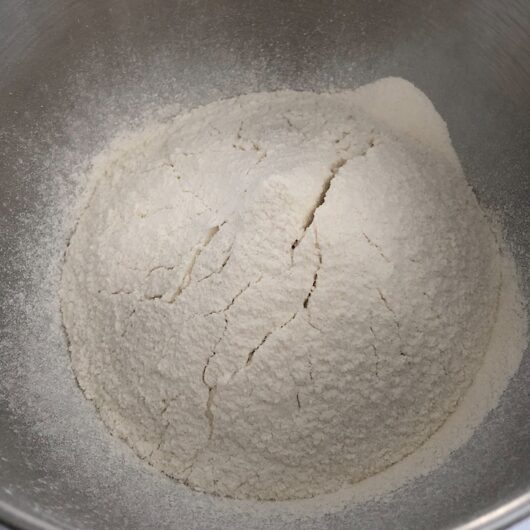
Step 2: Sift the dry ingredients together
Sifting the dry ingredients is also important because it will separate the flour, so that it will more easily mix and incorporate the wet ingredients evenly.
Step 3: Add the wet ingredients to the dry and mix on low speed
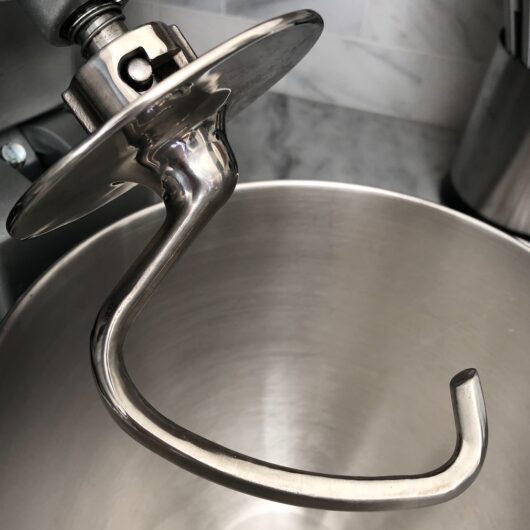
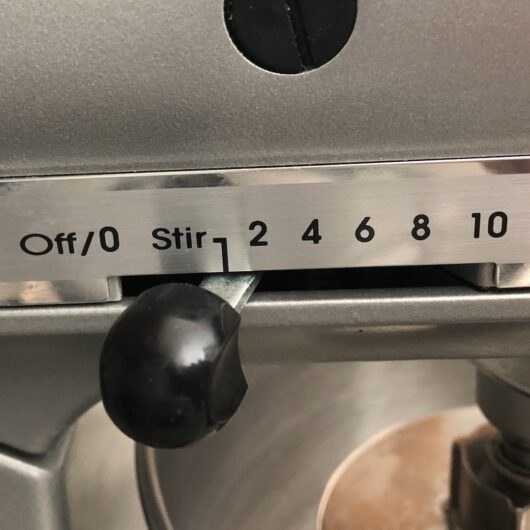
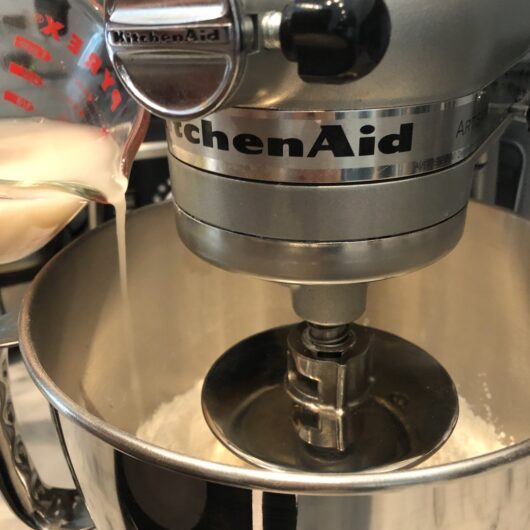
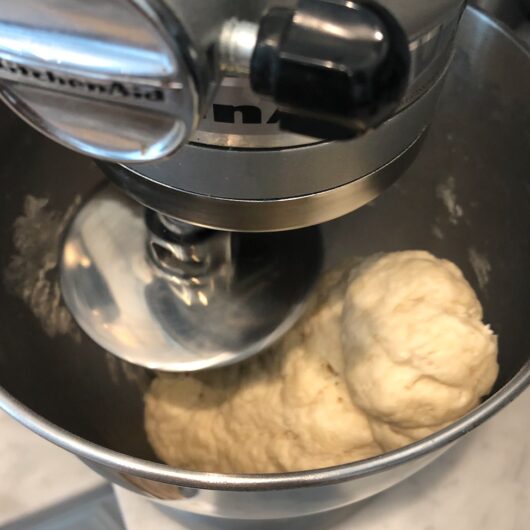
Before you pour the wet ingredients on the dry ingredients in the dough mixer bowl, I suggest you lock the bowl in the electric mixer and turn the speed on to the lowest setting. After the electric mixer is on, slowly pour in the yeast mixture and then the vegetable oil and milk. By doing this, the wet ingredients will be more evenly incorporated into the dry ingredients. Have the electric mixer keep mixing until a smooth dough ball forms. If you don’t have an electric mixer, you can do all this mixing by hand, but it will just take more time.
Step 4: Proof the dough
Transfer the dough to a heat resistant bowl (I prefer pyrex, but you can also use ceramic) that is about double the size of the dough. Next, cover the bowl with a damp cloth. Next, put the bowl in the oven and leave it in the oven to proof for two hours. My oven has a “proof” function, so if your oven has this function, use it. Alternatively, some recipes recommend that you place the dough inside a steamer. I imagine this is to help the dough retain its warm moisture to promote proofing.
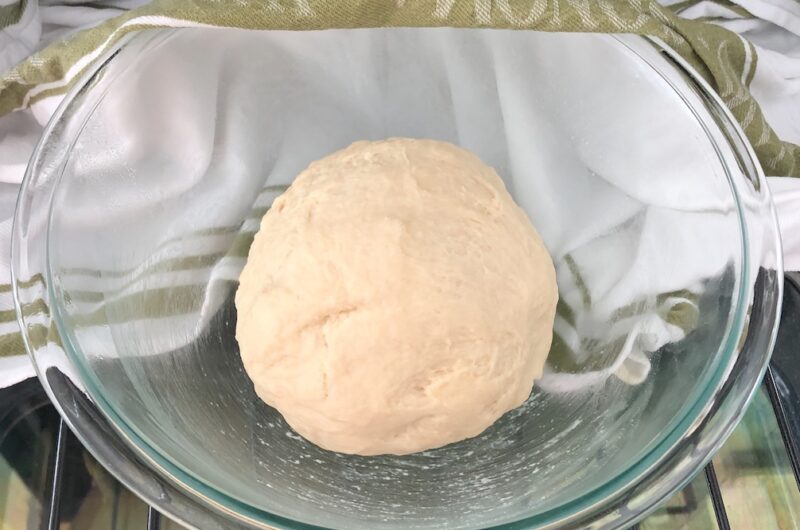
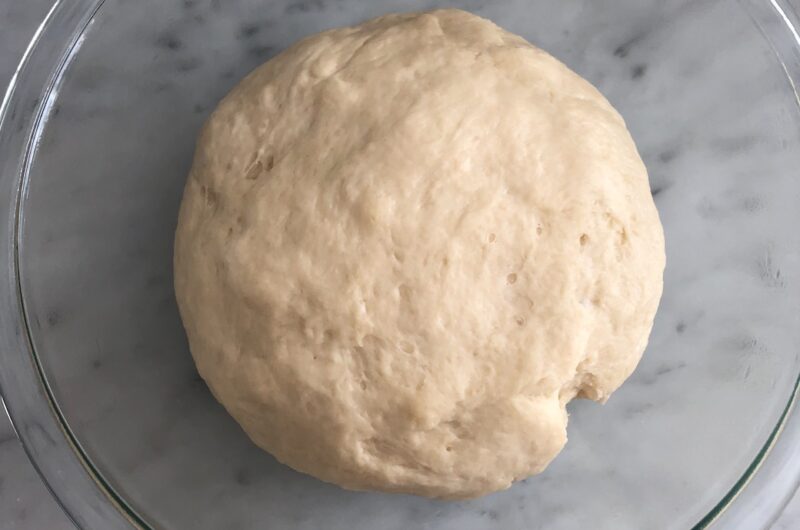
When proofing it is important that the dough retains its warm moisture, so the environment is ideal for the yeast to work. If I had one criticism of the Nom Wah recipe is that it does not specify that you let the dough rest in a “warm moist” environment. Also, it takes patience to let the dough proof, but don’t rush that process! By letting the dough proof, your buns will be fluffier and lighter. Proofing dough means giving time for the yeast cells to consume the flour and expel carbon dioxide, which will cause the dough to rise and expand. According to Nom Wah’s recipe, the dough should double in size.
Step 5: Rolling and forming the dough
Once the dough has risen, transfer the dough to lightly floured work surface. Depending on if you want to make traditional plain mantou (i.e. no filling) or fill the dough with filling, this part will differ. For the purposes of this step, I will talk about how you make plain mantou.
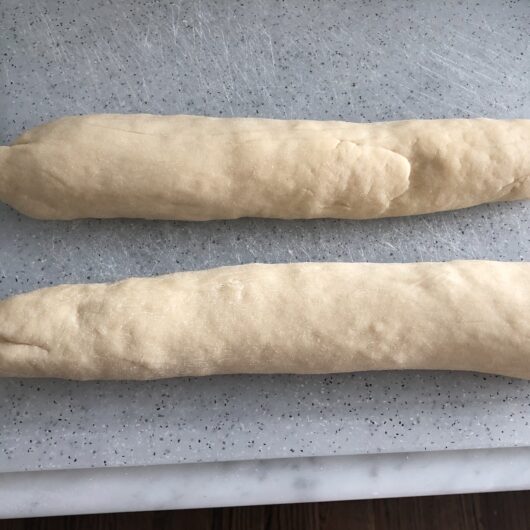
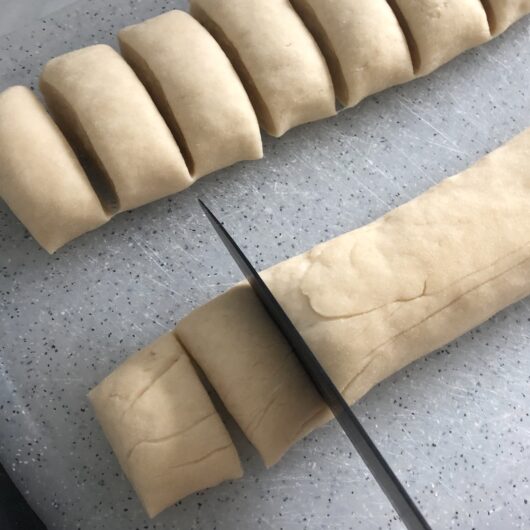
Roll the dough into a long cylinder about 18 to 24 inches long. Slice the cylinder into 1/2 inch wide portions and separate them. Now you are ready to steam them!
Step 6: Steam the buns
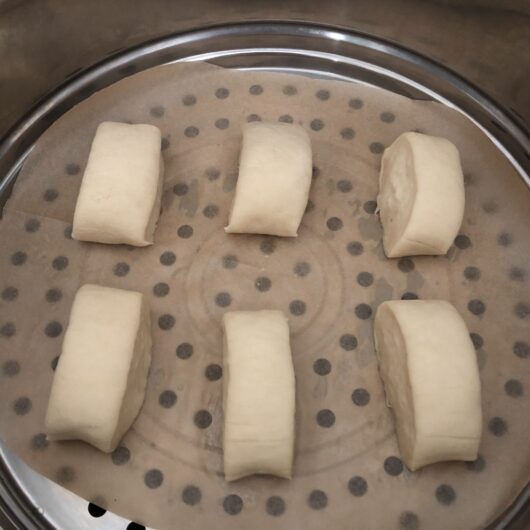
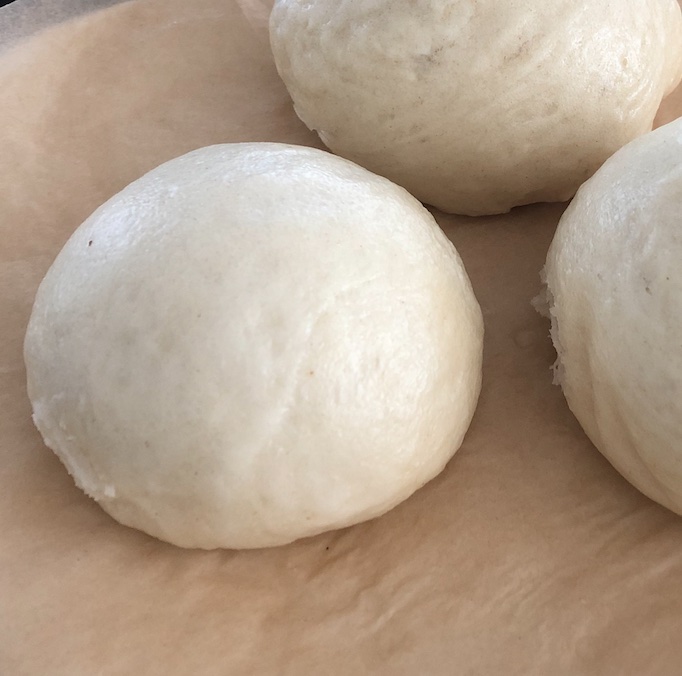
Prepare a steamer for steaming the buns by either boiling water in a wok with a steamer rack or if you have a steamer, boiling the water in a pot and setting the steamer on top of the pot. Next, place the buns about 1 inch apart either on a plate lined with parchment paper or directly on the parchment paper inside the steamer. Cover and team for about 20 minutes. If you stuff the dough with filling, the bun will need to steam longer because the filling and the dough close to the filling will need more time to cook through. I recommend about 30 minutes just to be safe.

Making steamed buns with fillings:
Alternatively, you can stuff the dough with filling before steaming it. Barbeque pork buns (aka Char Siu Bao) is an example and these are commonly seen on dim sum carts. If stuffed with ground pork and cabbage, these savory buns are called “meat buns” and a common Chinese bun you can eat for lunch. If the buns are stuffed with sweet filling, like red bean paste or sesame paste, it is commonly served as a dessert bun.
Here are links to my filling recipes:
Stuffing Savory Buns:
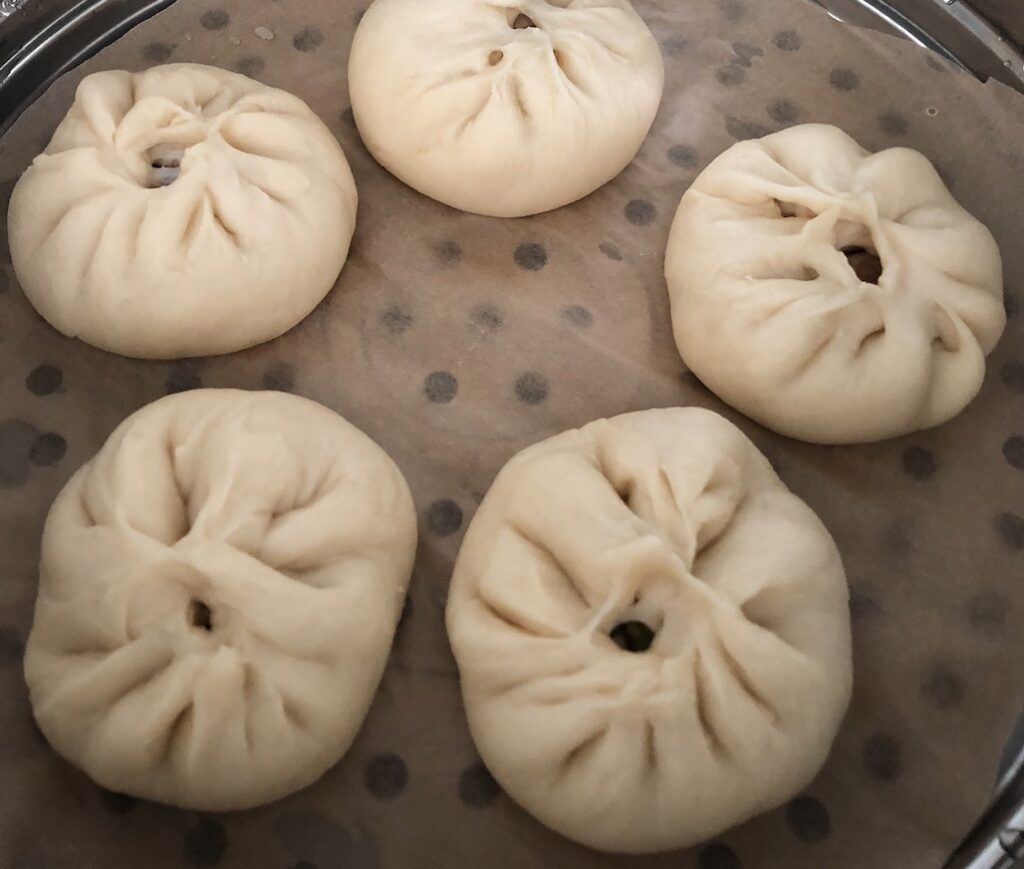
To stuff dough, take 1 inch diameter ball of dough and roll it out into a pancake. For savory buns, roll out the pancake with thinner edges, so it is easier to pinch together at the top. Place the pancake in your palm and place the filling in the center. Close up the cup by starting at one side of the edge. Fold and pinching together the edge of the dough cup one fold at a time until you go all the way around the edges. This will end up enclosing the filling.
Stuffing Sweet Buns:
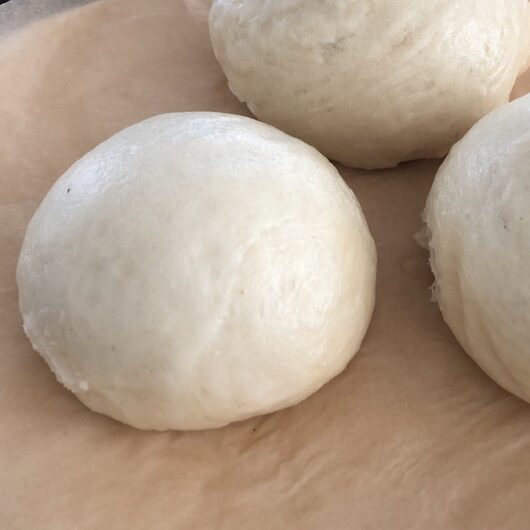
For sweet buns, place the pancake in your palm and create a cup shape with your hand. Put in the filling and then pinch the edges together to shut the opening. It doesn’t need to be pretty because you’ll put it upside down in the steamer. Just make sure you pinch all the edges together well, so the filling is enclosed inside.
After you have stuffed the buns with the filling, following the same instructions in step 6 to steam the buns. Savory buns typically have the pinched edges on top while sweet buns like red bean paste buns are typically placed upside down for steaming showing a smooth round surface.
Below is my version of the Nom Wah Mantou recipe:

